Colour, scale and perspective calibration for dermatology research.
Support consistent lesion measurements across visits with markers designed to provide a physical and colour reference in every image. Use the supplied markers on healthy skin, clear of the lesion, and follow the capture guide at each visit.
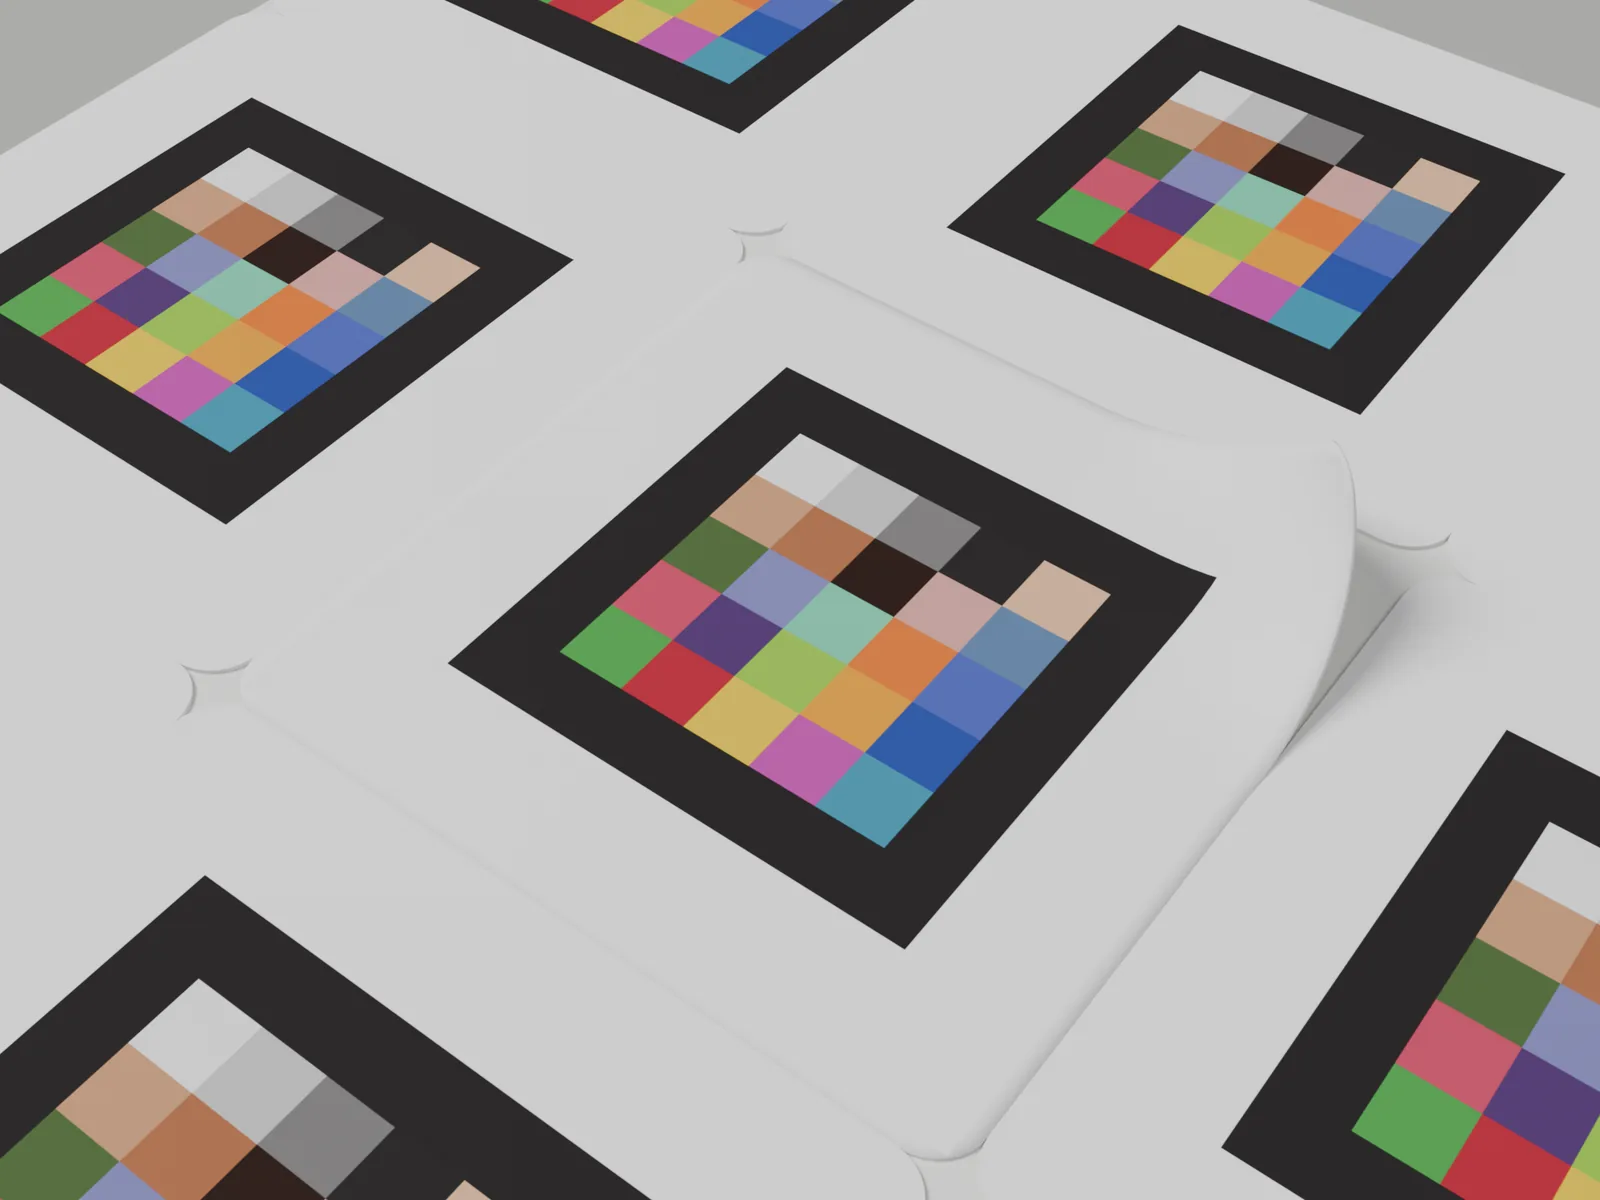
From photograph to measurement
One reference. Three dimensions of calibration.
The markers bring a known reference into the same photograph as the skin. Together with the calibrated camera and associated software, they help standardise colour, correct perspective and translate pixels into physical measurements.
Standardise colour
The printed colour reference helps account for differences in lighting and white balance, so colour can be compared across visits. Even lighting and consistent capture remain important.
Correct perspective
The geometric reference helps the platform account for viewing angle and interpret the photographed surface as a front-facing view. It does not remove the need for correct capture: keep the camera as parallel to the skin as possible and avoid sharply curved sites.
Give pixels a physical scale
The known physical reference connects image pixels to centimetres or inches, enabling the platform to derive lesion area and perimeter. The drawing uses an illustrative scale of 240 pixels to 2.54 cm (1 inch); the scale of each study image depends on its capture.
Before every photograph
Requirements for reliable capture.
A usable reference starts with correct placement and a clear photograph. Check these essentials at every imaging visit.
- Supplied markers: use the size provided for the study and the camera setup confirmed for it. Do not print or substitute replacements.
- Healthy, intact skin: keep markers clear of the lesion, on the flattest nearby skin. Avoid folds and sharply curved sites.
- Five where possible, never fewer than three: spread them across the image rather than clustering them together.
- Complete, undamaged labels: keep the printed area and white border visible, with no creases, stretching or lifted edges.
- A clear photograph: keep the whole lesion and every marker in frame, in sharp focus, evenly lit and free of glare or shadows. Follow the confirmed distance; do not zoom, crop or edit the image.
Read the complete image capture guide for the placement steps, camera settings and final image checks.
Why use the supplied markers?
Why the supplied markers matter.
The platform needs a readable, known reference, not just a visible object. The supplied markers combine the printed reference with a matte, conformable label designed for skin imaging. Keep the complete label intact and use it as instructed; a home-printed copy or another sticker is not a verified replacement. Read about the markers and their handling.
Before the first visit
Prepare the site before imaging begins.
Your study team coordinates the marker supply and the imaging instructions for your site. Before imaging starts, check that you have the supplied markers, the camera guidance and enough stock for the scheduled visits.
- Marker supply: use the markers supplied for your study. Ask your study contact for replacements; do not print or make your own.
- Camera setup: complete camera calibration and use the size and working distance confirmed for the study's imaging system.
- At each visit: follow the image capture guide, then check the image and upload before removing the markers.
The supplied print, size and material form the measurement reference. A visually similar sticker has not established those properties. Read why the supplied markers matter.
Measurement evidence
Evidence for surface-area measurement.
The measurement methodology behind marker-based surface-area quantification is described in the peer-reviewed study published in Skin Health and Disease (2026). See the full validation and results on the surface area measurement study page.
Medela A, Sabater A, Fernández G, Mac Carthy T, Aguilar A, Herrera D, Falqués M, Martorell A. Overcoming measurement challenges in clinical practice: a deep learning-based approach to monocular surface area measurement. Skin Health Dis. 2026;6(4):519-527. https://doi.org/10.1093/skinhd/vzag064
Choose your guide
Find the guide for your next task.
Use the capture guide at each visit. Before imaging begins, read about the supplied markers and complete camera calibration.
Image capture
Prepare the skin, place the markers and check the photograph before the subject leaves.
Camera calibration
Photograph the calibration board and submit the image set for validation before study imaging.
About the markers
What makes the supplied markers a measurement reference, how to handle them and why to avoid substitutes.